
Best-Ever Blondies

As I did with my Best-Ever Brownies, I wanted to experiment with different ingredients, proportions, and baking techniques to create delicious blondies. Behold, my recipe for the Best-Ever Blondies!
Below is a great story on the challenge of creating these blondies, and I hope you read it because you may learn some interesting things about baking blondies and developing recipes!
First and foremost, these blondies have a rich vanilla flavor with notes of butterscotch and caramel thanks to the use of more brown sugar than white sugar. More brown sugar also gives these blondies moistness and a chewier texture because of the molasses in the brown sugar.
As with all my recipes, I use the scientific method to carefully craft them to ensure you get deliciously perfect results every time. This is especially true with my development of this recipe for blondies. I tested about 10 variations until I created the one that would earn the title of Best-Ever Blondies!
Why did it take 10 variations? What was the biggest problem plaguing my blondies? Read on to find out!
I put semi-sweet chocolate chips in my Best-Ever Brownies. I wanted to do something similar with my blondies, so I added white chocolate chips. However, my blondies would sink after cooling, and the interior appeared severely under-baked, bordering on raw. The toothpick test always came out clean, so I was quite befuddled.
I experimented with various amounts of flour, leavening, and sugar. I baked them at 350 and 325. I used different amounts of sugar and eggs. Still, I got the same result of sunken, almost raw blondies.
Then, I remembered Steve Rogers’ never-give-up attitude. Captain America never gives up, and I won’t either!
I wanted to try baking my blondies again while I was visiting my parents. They didn’t have white chocolate chips, but they did have about a 1/4 cup of semi-sweet chocolate chips. I had been using between 1/2 and 3/4 cup of white chocolate chips. I threw the 1/4 cup of chocolate chips in anyway and let it bake.
To my surprise, the blondies didn’t sink after cooling! As I cut into the blondies with cautious optimism, I was happy to find the blondies were baked and looked how I wanted. The taste test confirmed they had a delicious flavor and satisfying texture. Victory!
But, why did this version of blondies succeed?
My hypothesis was that the white chocolate chips were weighing down the batter, preventing it from rising and fully baking. I had been using between 1/2 and 3/4 cup of chips, but I got better results when I used only 1/4 cup. At that point, I baked another version of the blondies without any chips, and they came out perfectly! The chips were the culprit!
That’s the power of the scientific method, friends!
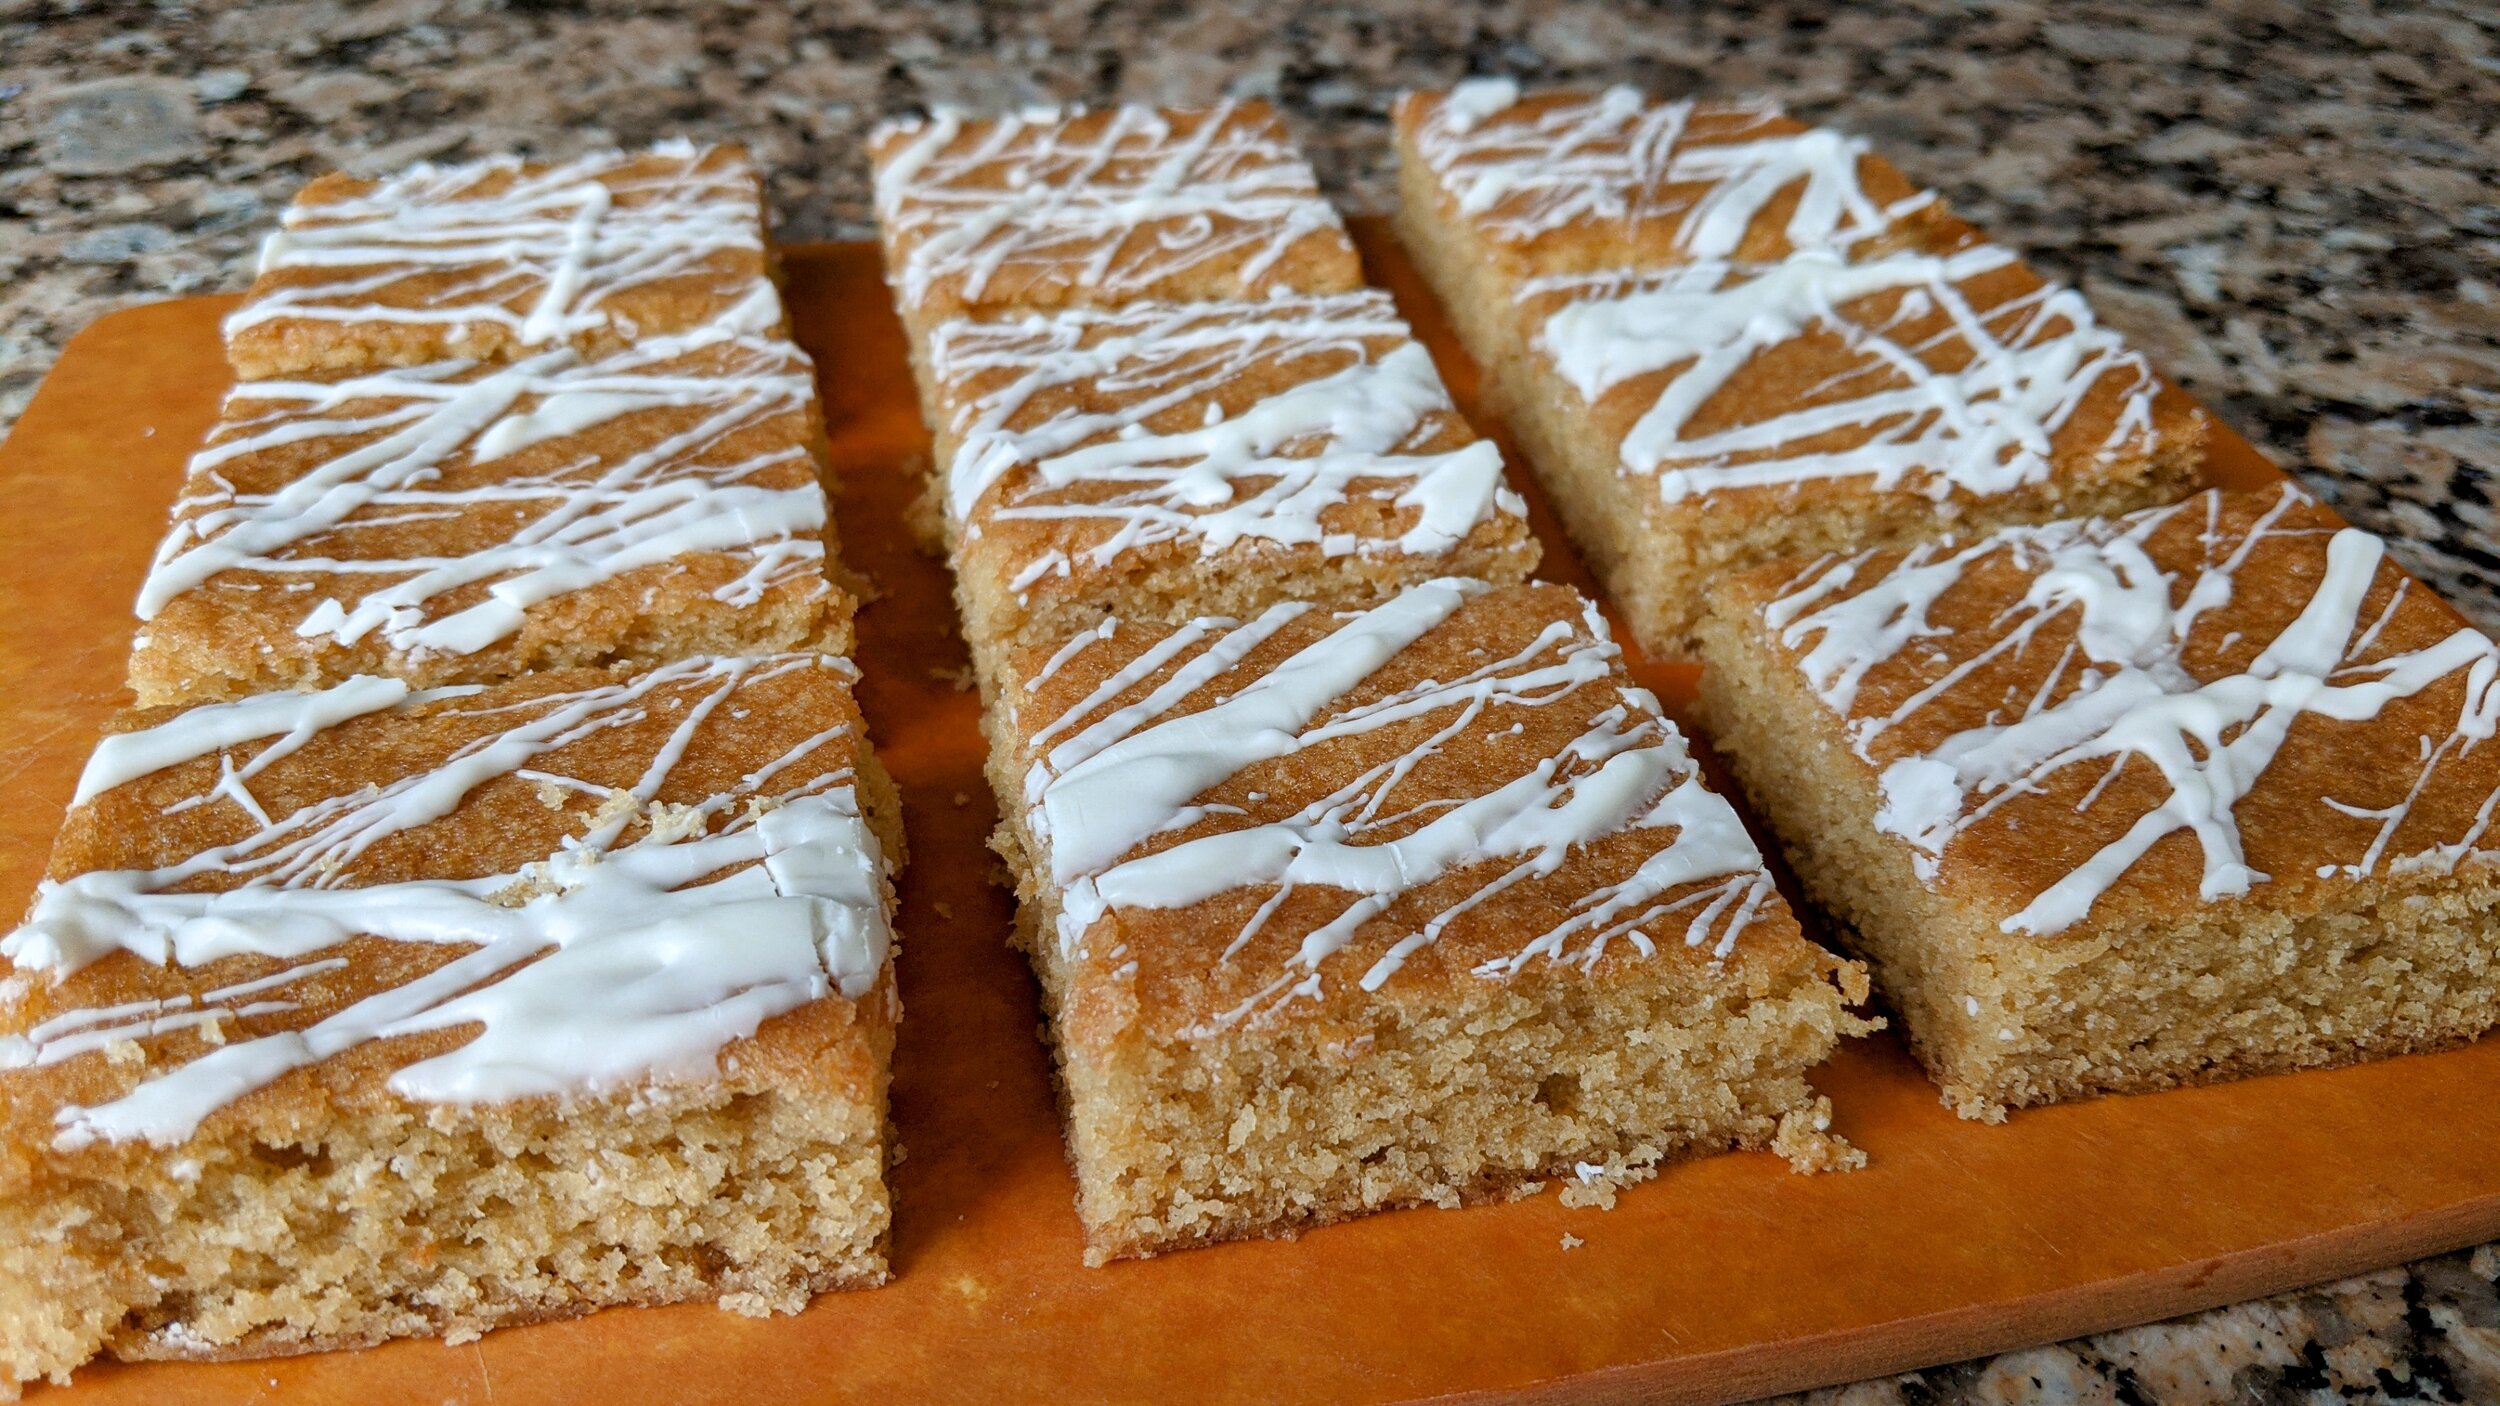
Still, I wanted to incorporate white chocolate into the recipe because my brownies have chocolate chips in them. I thought the baked blondies looked a little plain, so I melted white chocolate and drizzled it over the top. Ha! I got my inclusion of white chocolate, and it gave the blondies a striking visual appeal! Success!
TL;DR: Using the scientific method to develop baking recipes will produce great results. Having a never-give-up attitude is awesome. Don’t use chocolate chips in blondies, or else you’ll get sad results.
Now, on to the recipe!
Happy Baking!
Ingredients
2 large eggs
1 stick (113 grams or 1/2 cup) of unsalted butter, melted
67 grams (1/3 cup) of white granulated sugar
104 grams (1/2 cup, packed) of light brown sugar
1 1/2 teaspoons of pure vanilla extract
120 grams (3/4 cup and 3 level tablespoons) of all-purpose flour
1/4 teaspoon of baking soda
1/2 teaspoon of salt
2 oz. or half a white chocolate bar for drizzling (optional)
Yields 12 blondies
Instructions
Let all ingredients come to room temperature.
Geeky Tip: Ingredients that are all the same temperature incorporate more easily and fully.
Preheat the oven to 325 degrees F.
Geeky Tip: Oven temperatures vary wildly, so get an oven thermometer. When my oven “beeps” to indicate pre-heating is done, it is usually 50-75 degrees below the target temperature. An oven thermometer is the best $5 baking investment you can make!
Line an 8” x 8” metal pan with parchment paper on all sides.
Geeky Tip: I highly recommend using a light-colored aluminum pan. Pans that are dark will conduct more heat and may burn whatever is in them. Just think of wearing a black shirt versus a white shirt on a hot sunny day. Old pans that have dark spots may heat unevenly.
Cut a piece of parchment paper that is larger than the pan. Cut out the four corners of the parchment paper.


Now, push the trimmed piece of parchment paper into the pan. Push it into the corners of the pan and crease it along the bottom edge of the four walls to make sure it stays in place.
This will help with removing the blondies after baking, and the pan will be virtually clean!

Melt the butter in a microwave-safe bowl. Microwave it for 20 to 30 seconds. Stir occasionally. Don’t overheat it. The residual heat in the butter and bowl will cause it to melt. Set it aside to cool to room temperature.
Fully whisk together the flour, baking soda, and salt. Set it aside.
Geeky Tip: Whisking together all the dry ingredients ensures a homogenous mixture, and it breaks up any clumps in the flour. Also, make sure to keep flour in an airtight container in a cool, dry place to maintain freshness and prevent spoilage.

Using an electric mixer with a whisk attachment, beat the eggs until they are frothy and pale yellow. About 90 seconds on medium speed. Don’t overbeat.
Geeky Tip: This is the secret to creating the perfect texture! Working air into the eggs produces that wonderful texture and helps to prevent the blondies from sinking during baking.

Gradually mix the white sugar into the eggs. Then, gradually mix in the light brown sugar. About 1 minute on low-medium speed.
Scrape down the sides of the bowl.


Mix in the room-temperature melted butter. About 1 minute on low-medium speed.


Mix in the pure vanilla extract.

Add the dry ingredients into the wet ingredients by halves, and mix until just incorporated. Don’t overmix.
Geeky Tip: Overmixing will build up the gluten and protein structure in the dough and lead to tougher and denser brownies.


Using a silicone or offset spatula, evenly spread the batter into the pan.

Bake on the oven’s center rack for 26-30 minutes. Blondies are done when a wooden toothpick inserted into the center comes out with just a few moist crumbs on it. Don’t overbake the blondies to ensure they are moist.
After baking, place the pan on a wire rack to cool.
Let the blondies completely cool before drizzling with chocolate and/or serving. Use the parchment paper to lift the blondies out of the pan.
Geeky Tip: Cutting them with a plastic or non-serrated knife produces better and cleaner cuts.
For the white chocolate drizzle on top: Heat the chocolate in the microwave for 15- to 20-second intervals. Stir the chocolate after each interval. When the chocolate appears almost completely melted, stop and stir. The residual heat from the bowl and chocolate will continue to melt the chocolate. Don’t overheat the chocolate.
Using a fork, spoon, or pastry bag, drizzle the chocolate over the blondies. Allow the chocolate to set before cutting and serving.
Enjoy!

Storage
To store the blondies, put them in an airtight container. They can be stored at room temperature for 3 to 5 days. They can be frozen for up to 3 months.

Best-Ever Blondies
Ingredients
- 2 large eggs
- 1 stick (113 grams or ½ cup) of unsalted butter, melted
- 67 grams (⅓ cup) of white granulated sugar
- 104 grams (½ cup, packed) of light brown sugar
- 1 ½ teaspoons of pure vanilla extract
- 120 grams (¾ cup and 3 level tablespoons) of all-purpose flour
- ¼ teaspoon of baking soda
- ½ teaspoon of salt
- 2 oz. or half a white chocolate bar for drizzling (optional)
Instructions
- Let all ingredients come to room temperature.
- Preheat the oven to 325 degrees F.
- Line an 8" x 8" metal pan with parchment paper on all sides.
- Melt the butter in a microwave-safe bowl. Microwave it for 20 to 30 seconds. Stir occasionally. Don't overheat it. Set it aside to cool to room temperature.
- Fully whisk together the flour, baking soda, and salt. Set it aside.
- Using an electric mixer with a whisk attachment, beat the eggs until they are frothy and pale yellow. About 90 seconds on medium speed. Don't overbeat. Scrape down the bowl.
- Mix the white and brown sugar into the eggs. About 1 minute on low-medium speed. Scrape down the bowl.
- Mix in the room-temperature melted butter. About 1 minute on low-medium speed. Scrape down the bowl.
- Mix in pure vanilla extract.
- Add the dry ingredients into the wet ingredients, and gently mix until just incorporated. Don’t overmix.
- Using a silicone or offset spatula, evenly spread the batter into the pan.
- Bake on the oven's center rack for 26-30 minutes. Blondies are done when a wooden toothpick inserted into the center comes out with just a few crumbs on it. Remove the pan from the oven, and place it on a wire rack to cool for 1 hour.
- For the white chocolate drizzle on top: Heat the chocolate in the microwave for 15- to 20-second intervals. Stir the chocolate after each interval. When the chocolate appears almost completely melted, stop and stir. The residual heat from the bowl and chocolate will continue to melt the chocolate. Don’t overheat the chocolate.
- Using a fork, spoon, or pastry bag, drizzle the chocolate over the blondies. Allow the chocolate to set before cutting and serving.
Notes
To store the blondies, put them in an airtight container. They can be stored at room temperature for 3 to 5 days. They can be frozen for up to 3 months.